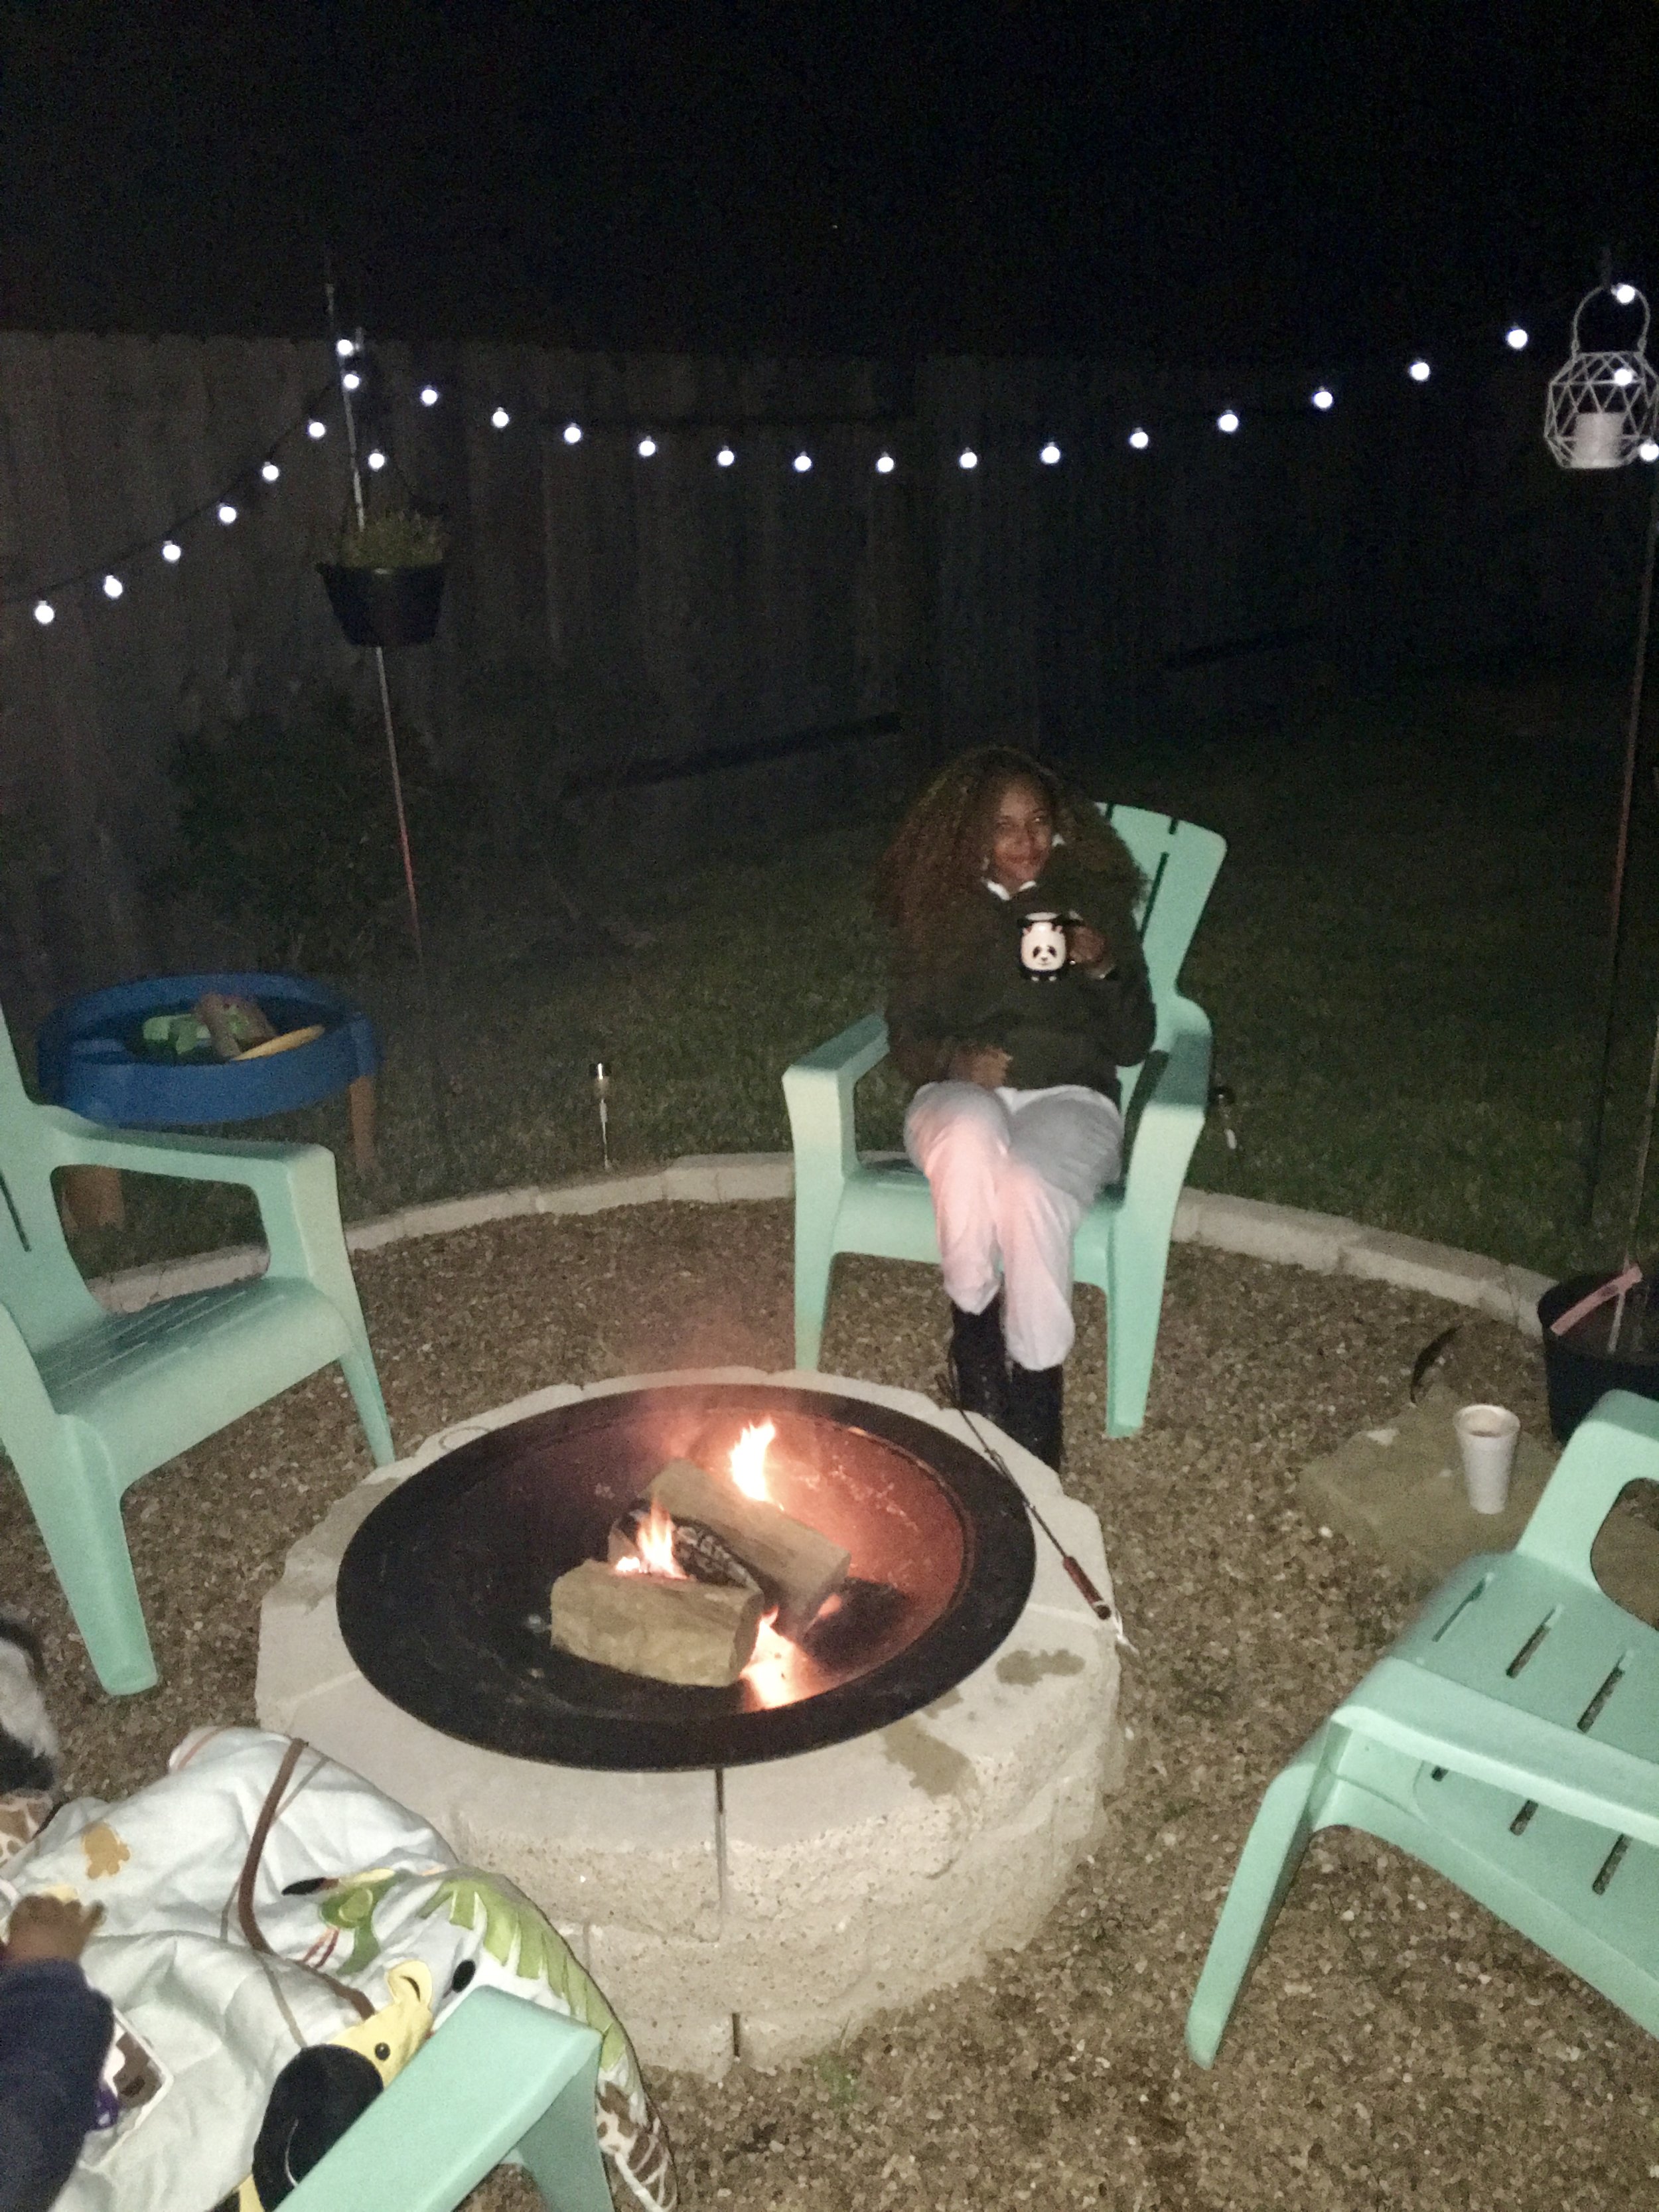
Our former house was in the burbs of the burb, and just had an unplugged feel. We had a HUGE backyard, and I had this dream of doing a backyard fire pit area that had a bonfire feel. My husband and I managed to pull this off and it turned out great! We had so many memories around our bonfire fire pit, so I wanted to share how we did this. It was fairly easy and budget friendly.
Here is the supply list, all items from Home Depot (but could be purchased from Lowes as well):
shovel
measuring tape
Concrete edger (we used similar to the one linked)
Sand
Optional: Fire pit bowl and a barrel (the stones are heavy!)
Here is how we did it:
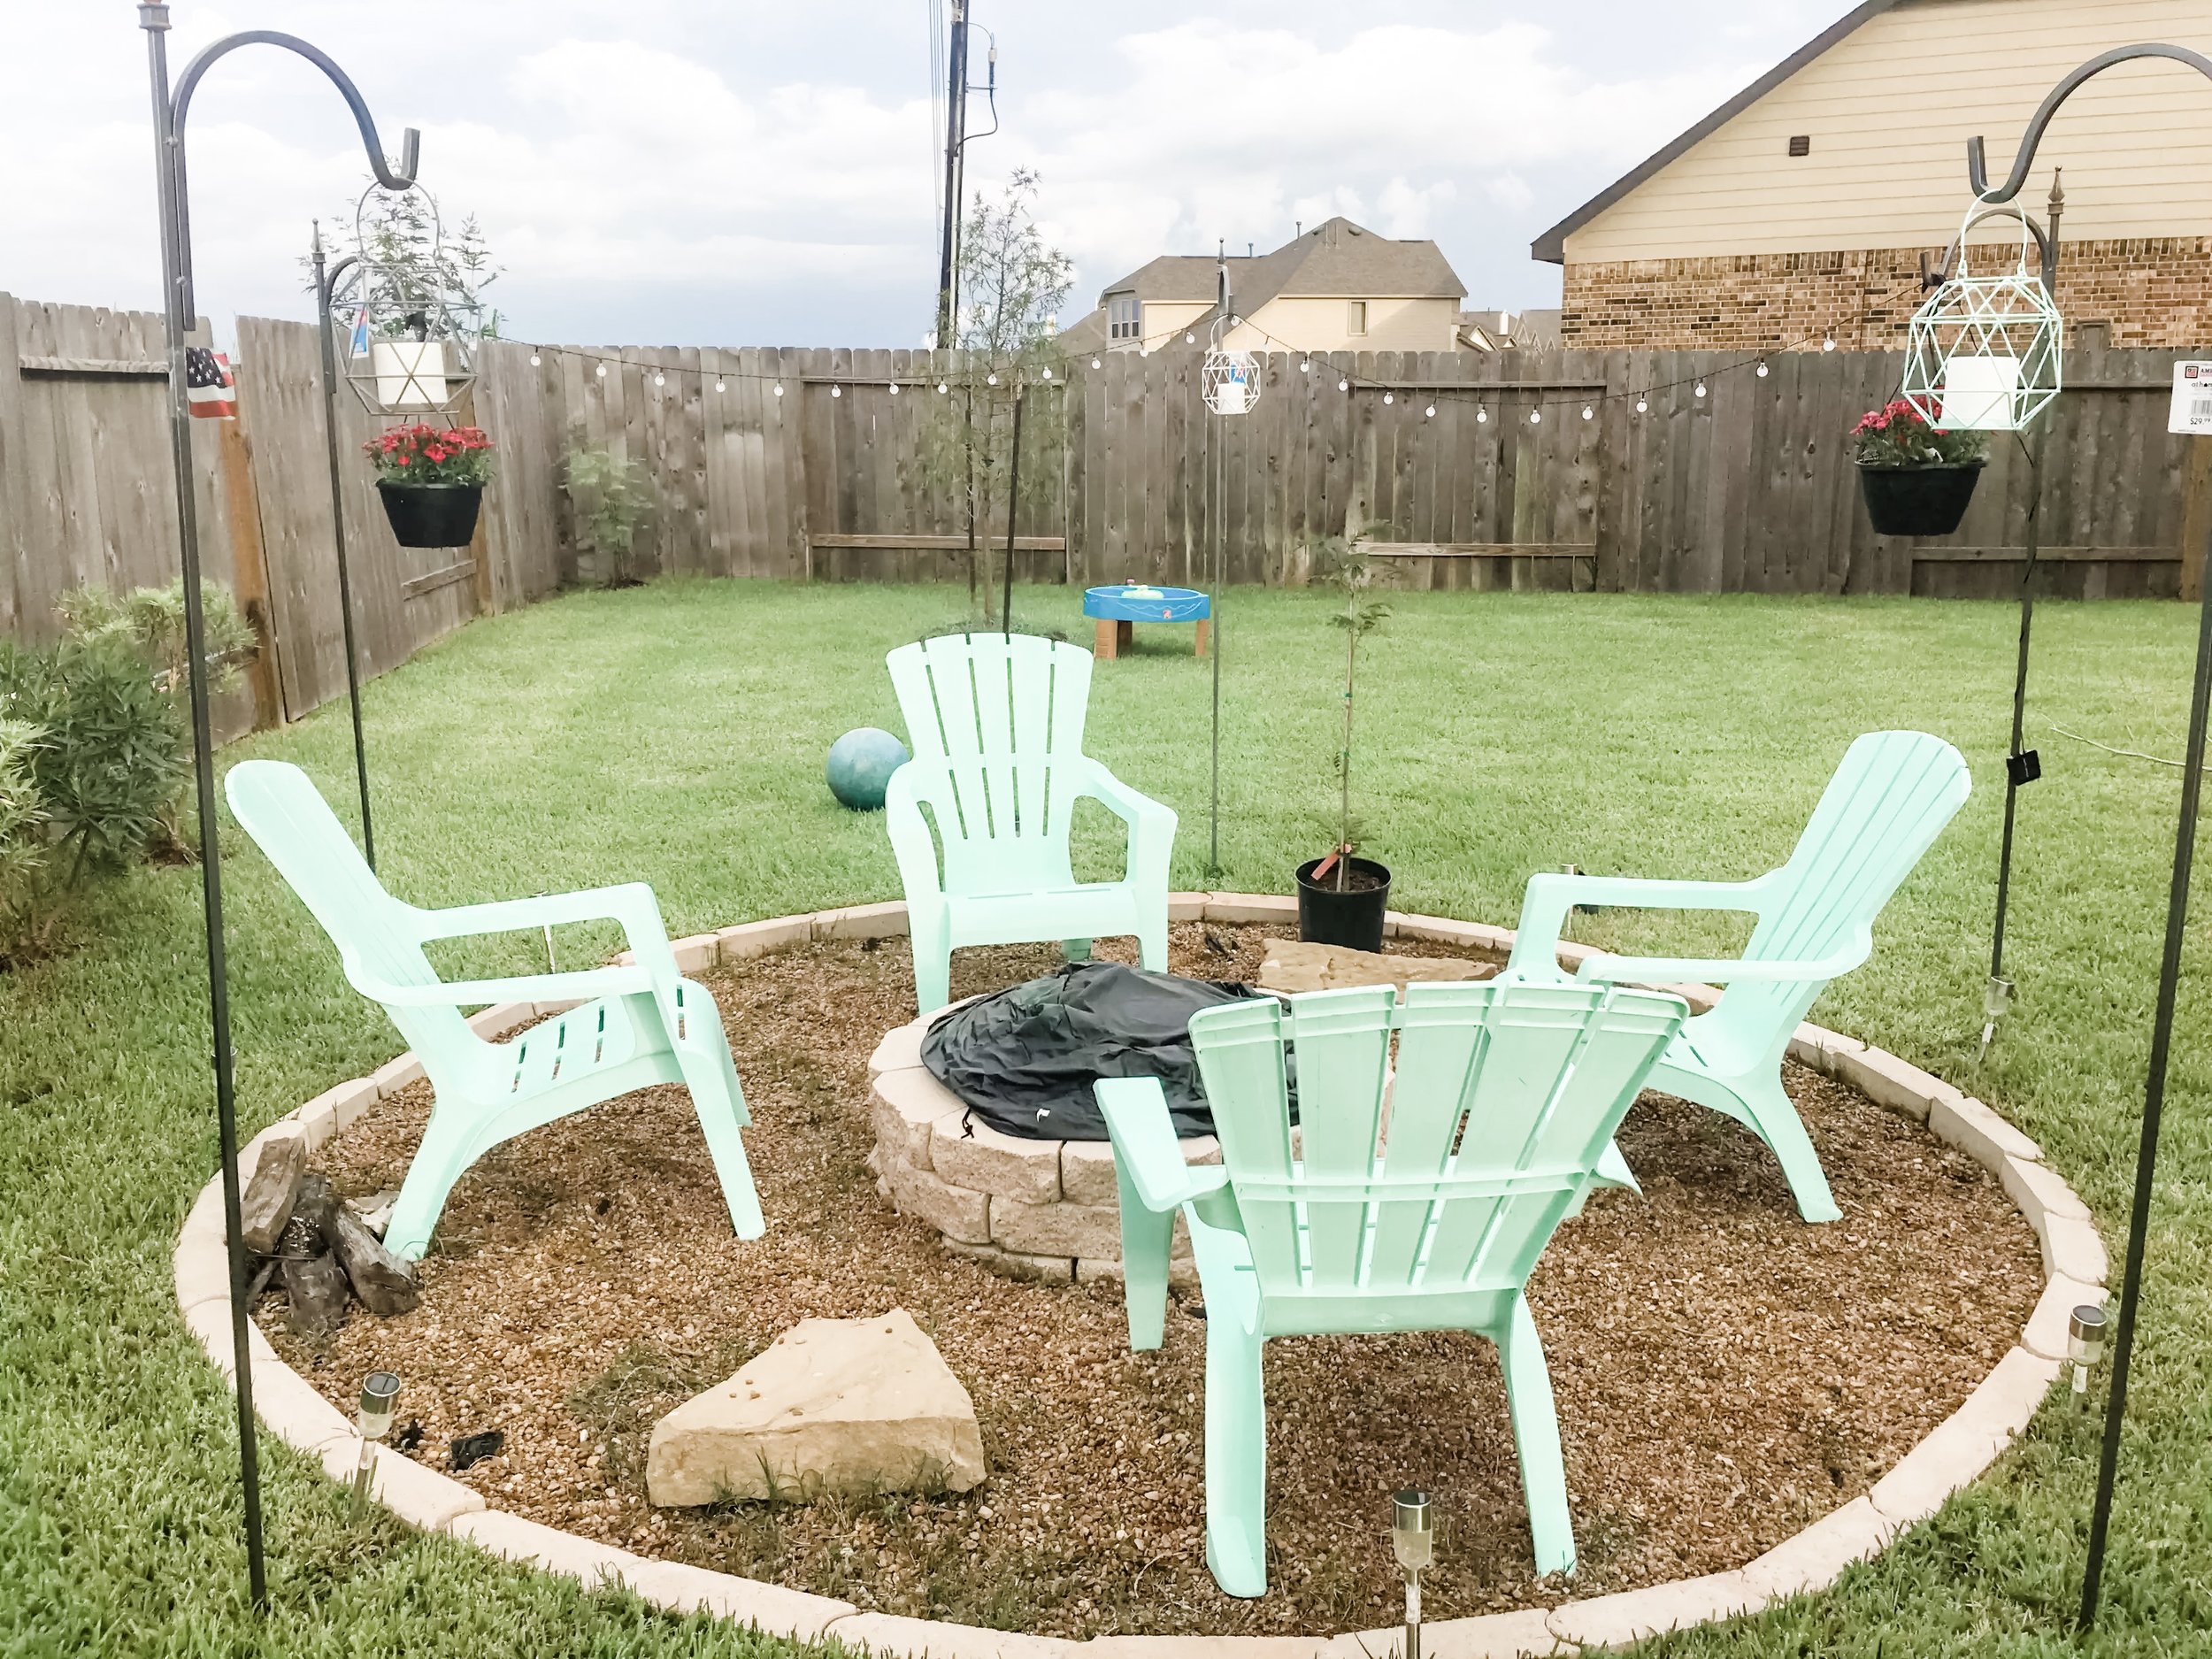
Make the circle -
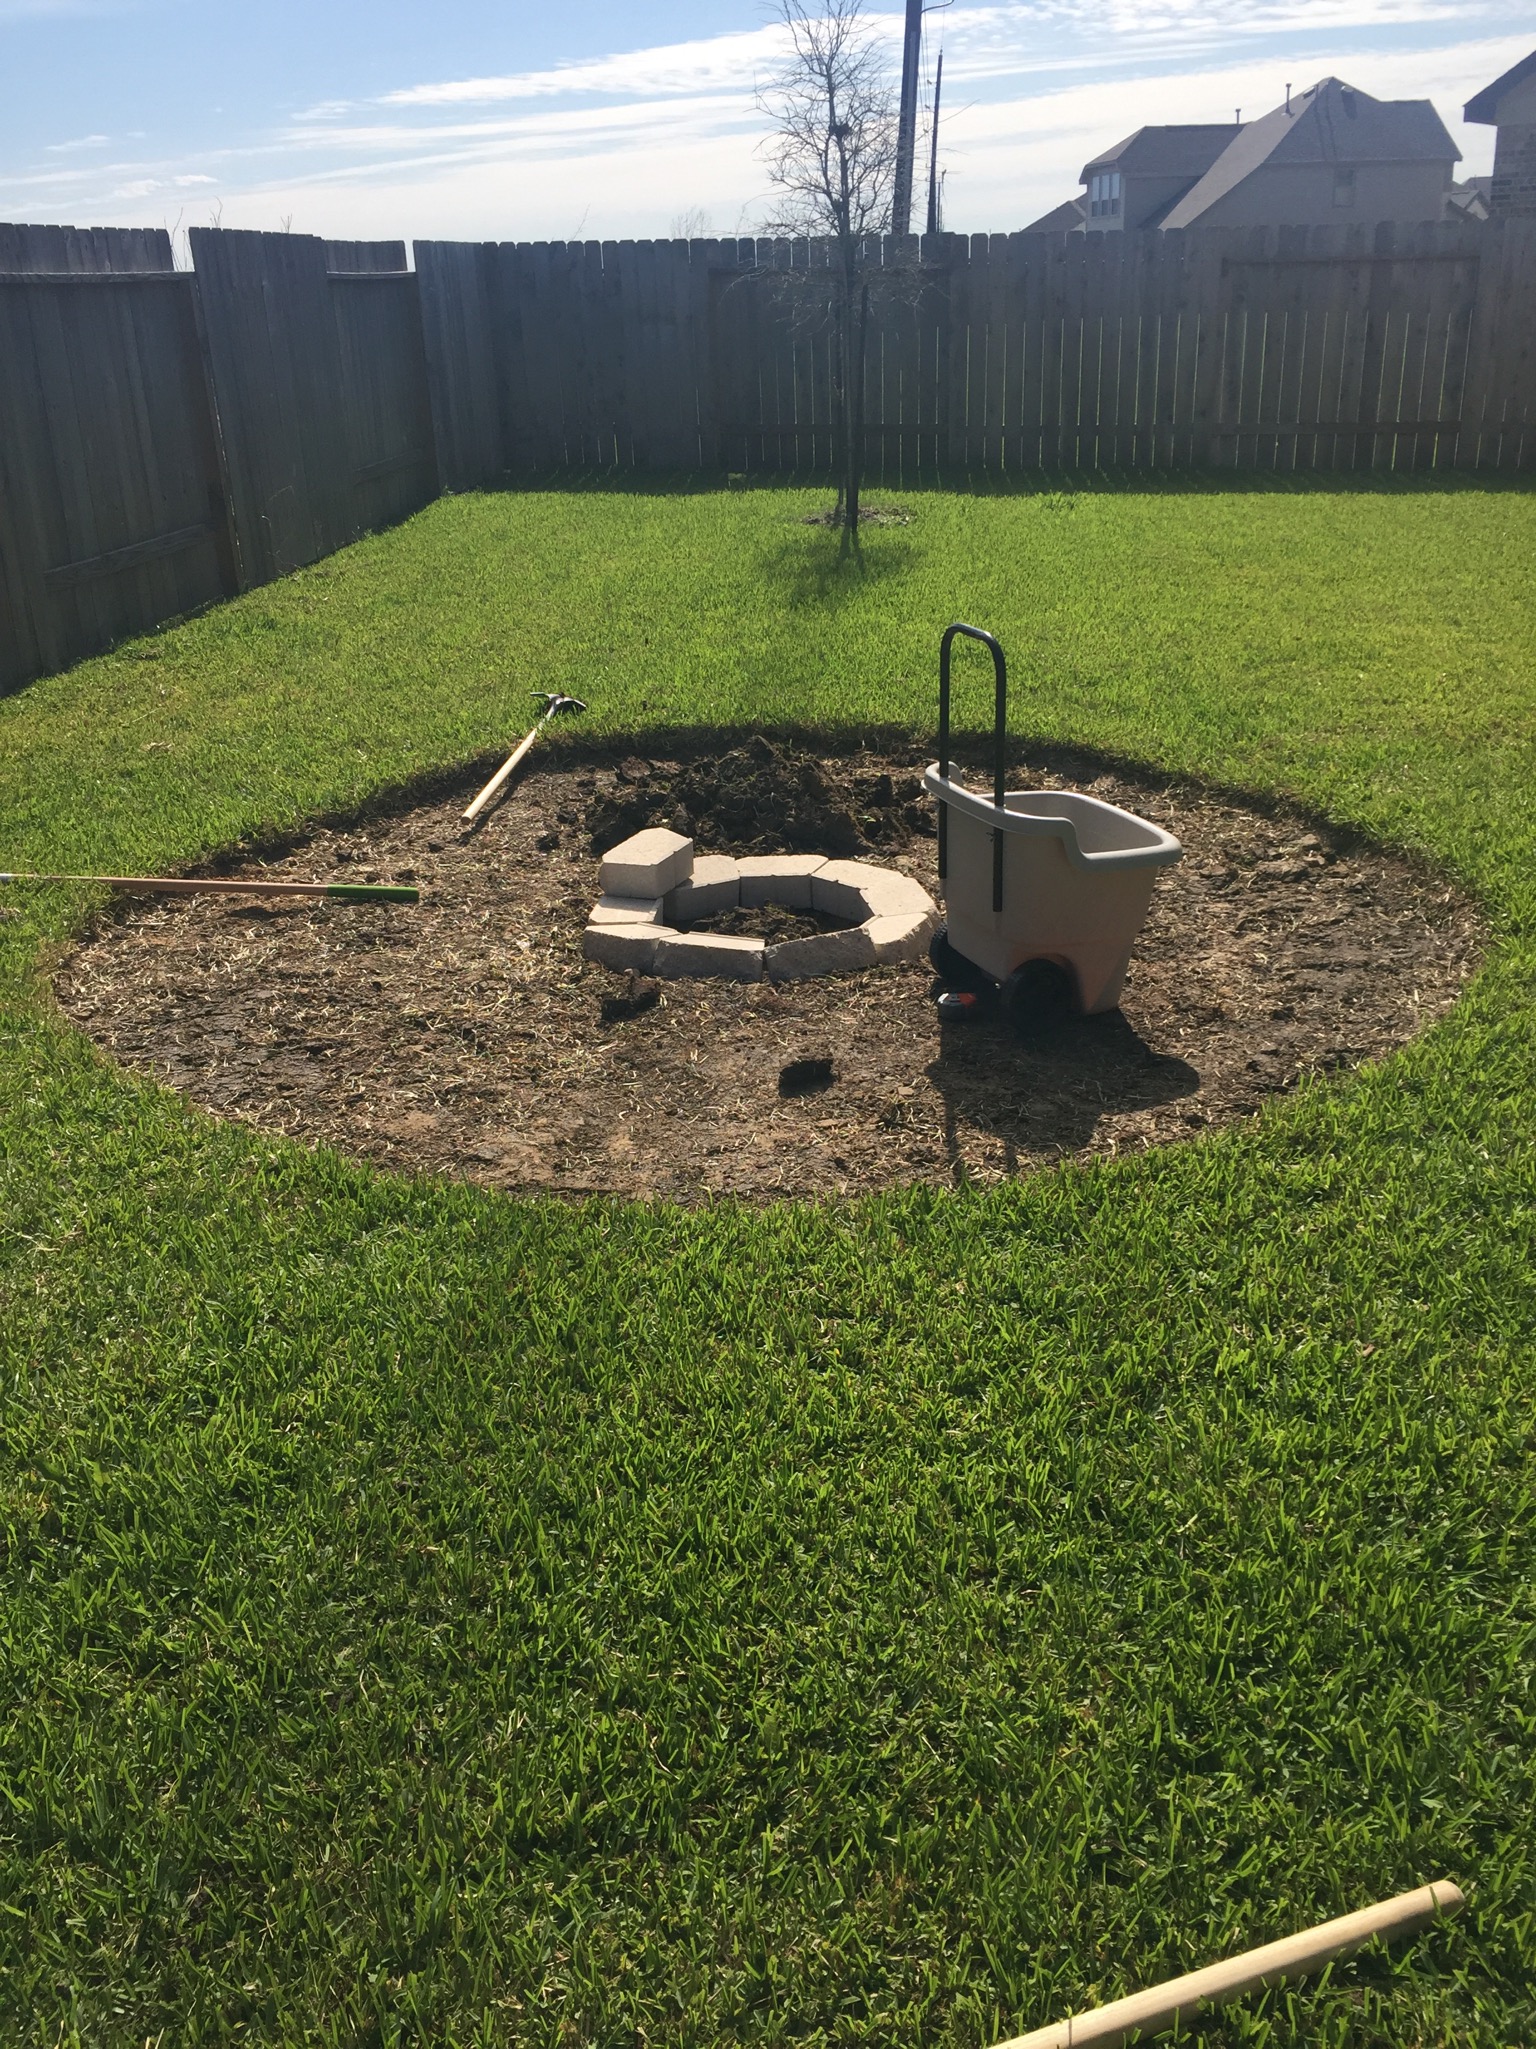
Find the perfect spot, then find the center of that spot. From that center point, measure the same distance to the edge of the circle from that point. Use the spray marker to mark each point you measure as the outline for creating the circle. Once you have done this several times, complete the circle with the marker, and begin to dig the grass. The depth is dependent upon your preference. We did not dig very deep, approx 6-8 inches deep. Once the grass was dug up, we began to pat the dirt (clay) with the garden hoe to make it level.

2. Form the Fire pit -
We measured the weed barrier for all parts, excluding the part where the fire pit would go. We began to start the fire pit circle using the concrete wall blocks. We had previously measured out how big we wanted the fire pit based on the size of the wall blocks and the fire pit bowl. We just places the wall blocks next to each other then started the next row, until we reached the third and final row. Then lay the weed barrier down.
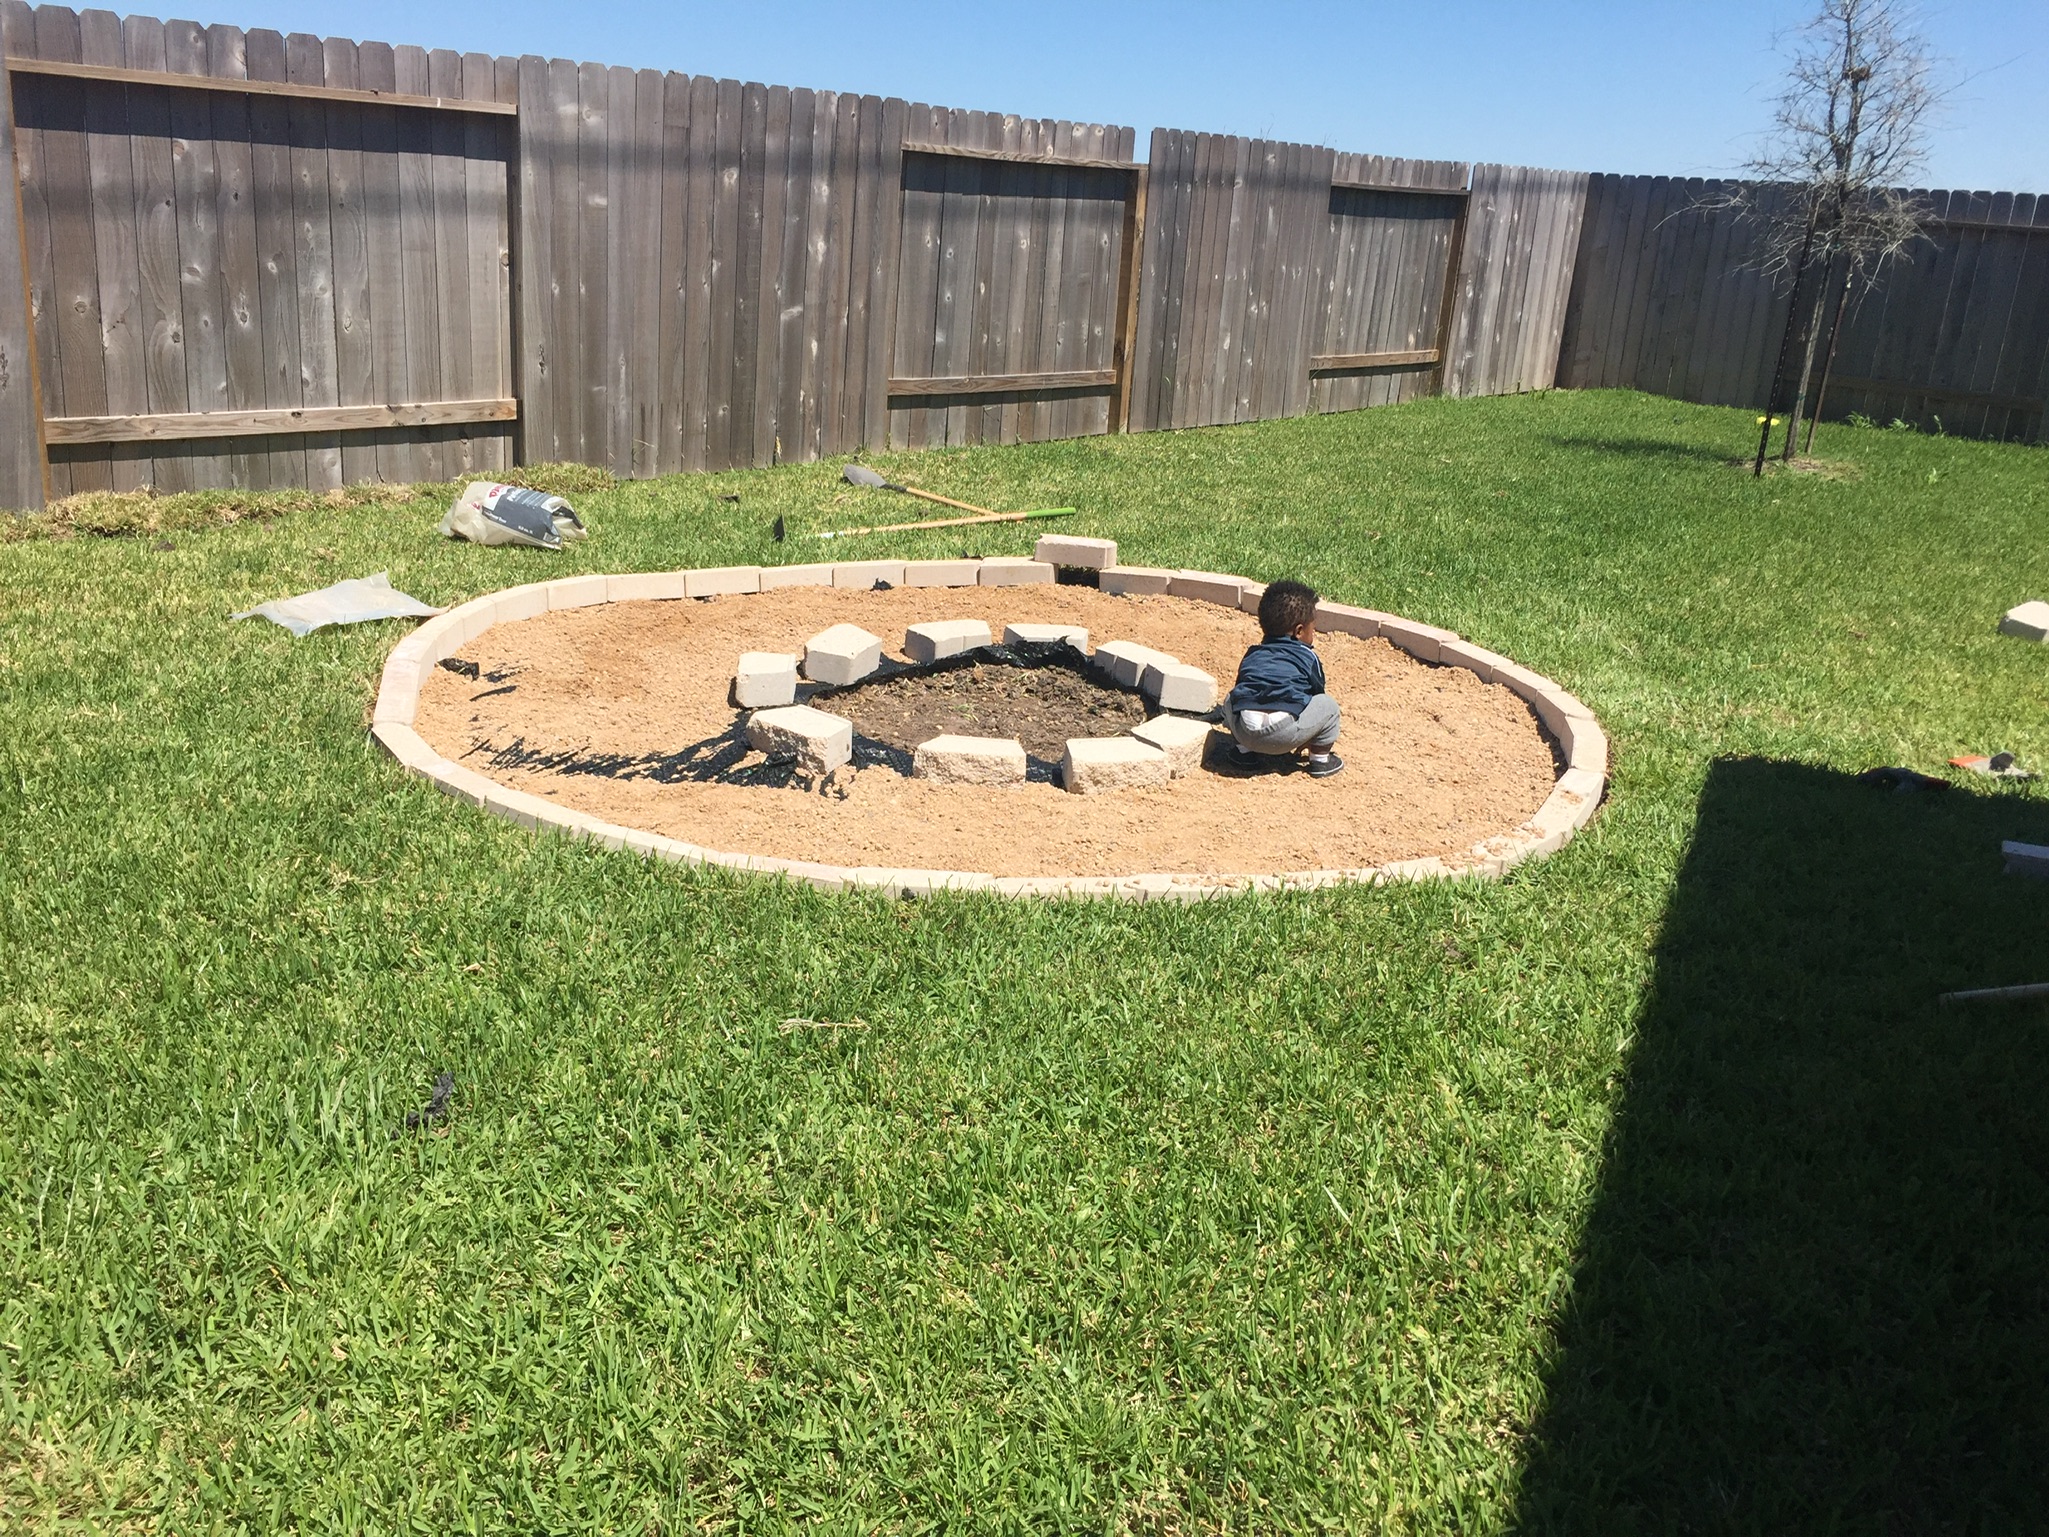
3. Place the edgers on the edge and lay the pea pebbles-
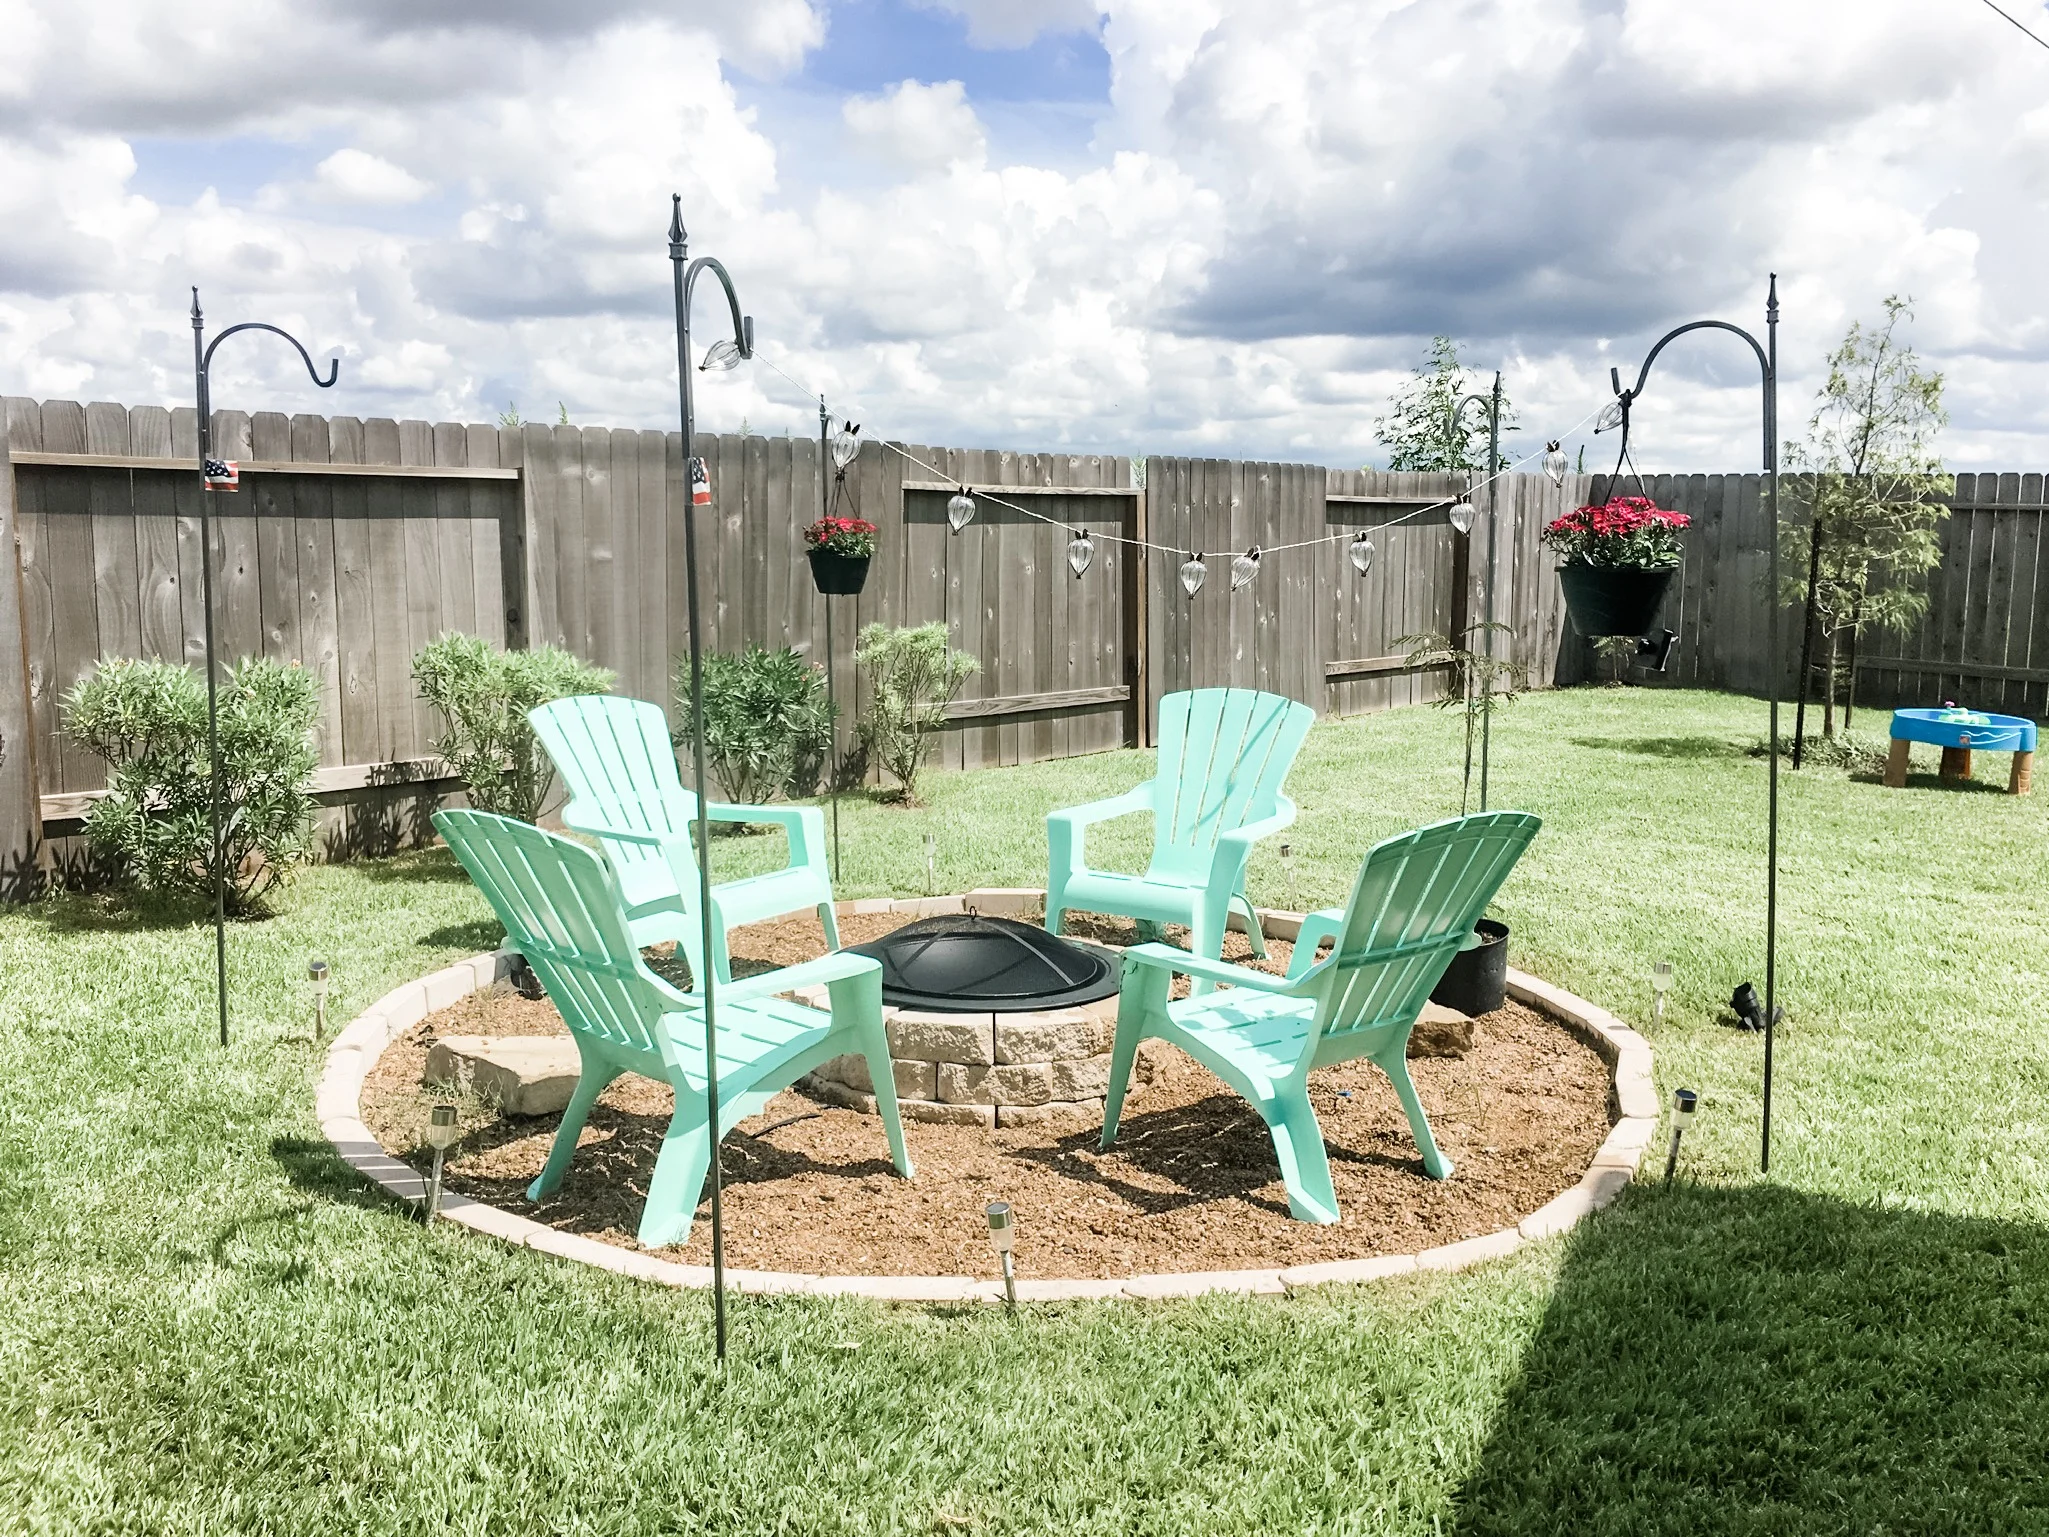
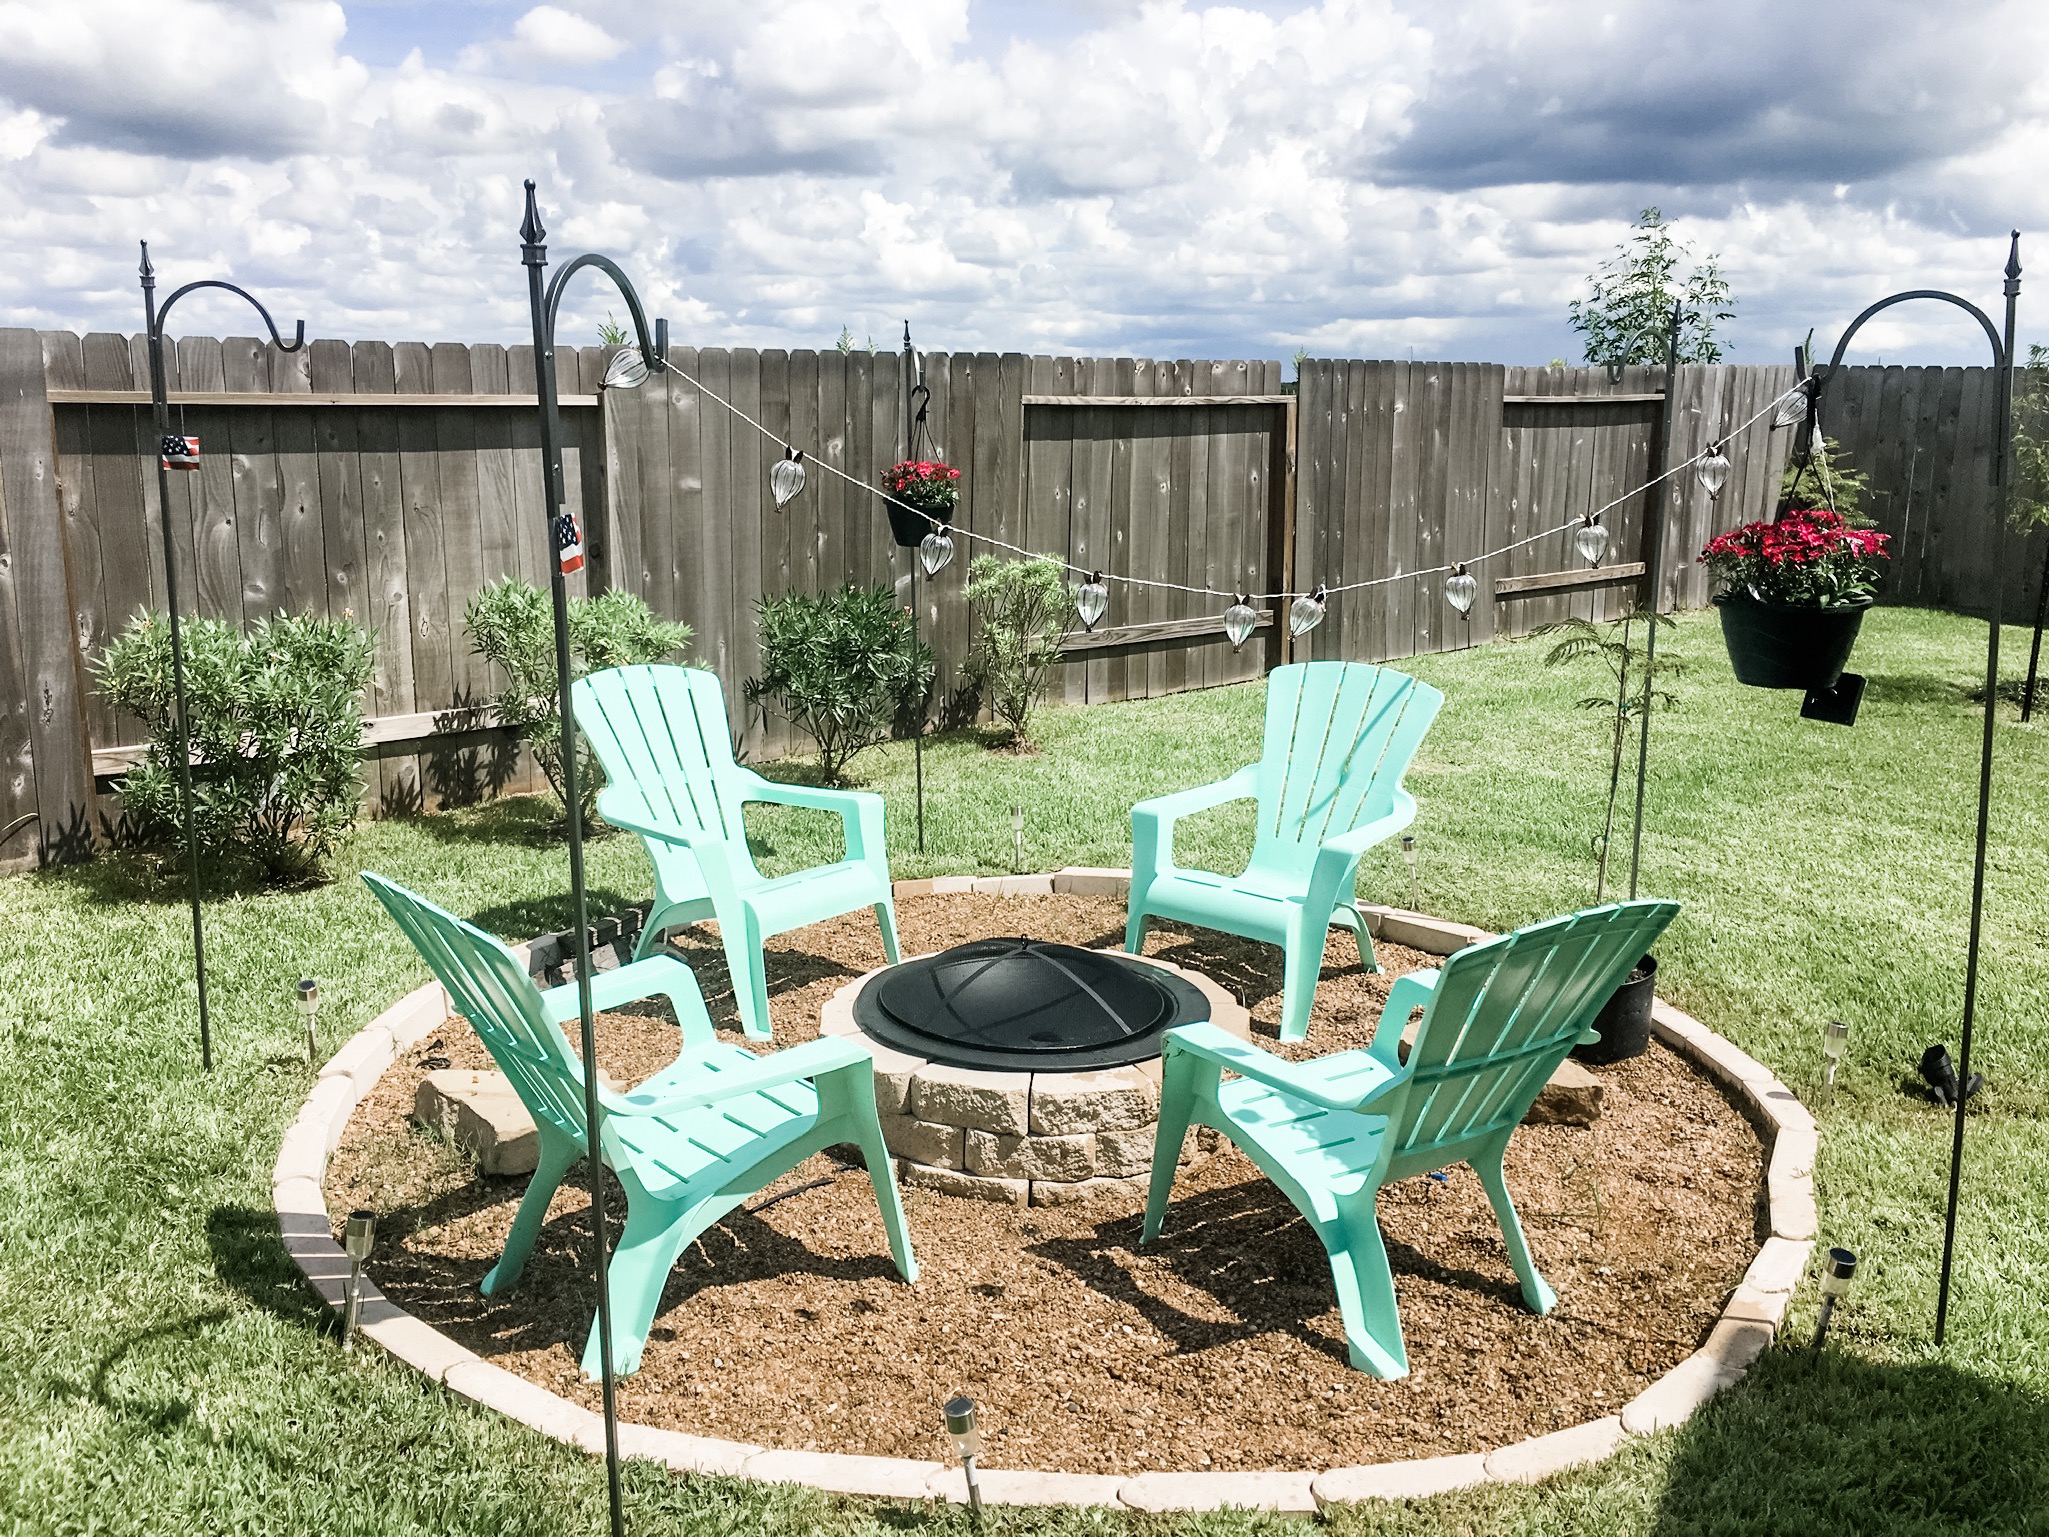
We placed the edgers around the edge (honestly we winged this part, and fortunately it worked out). You can measure the size of the edgers and estimate how many you need based on the size of the circle. We then laid down the sand into all parts, including the center of the fire pit. Then we laid the pea pebbles down in all areas excluding the fire pit center. We purchased about 7 bags of these. You can always add more of these down the road.

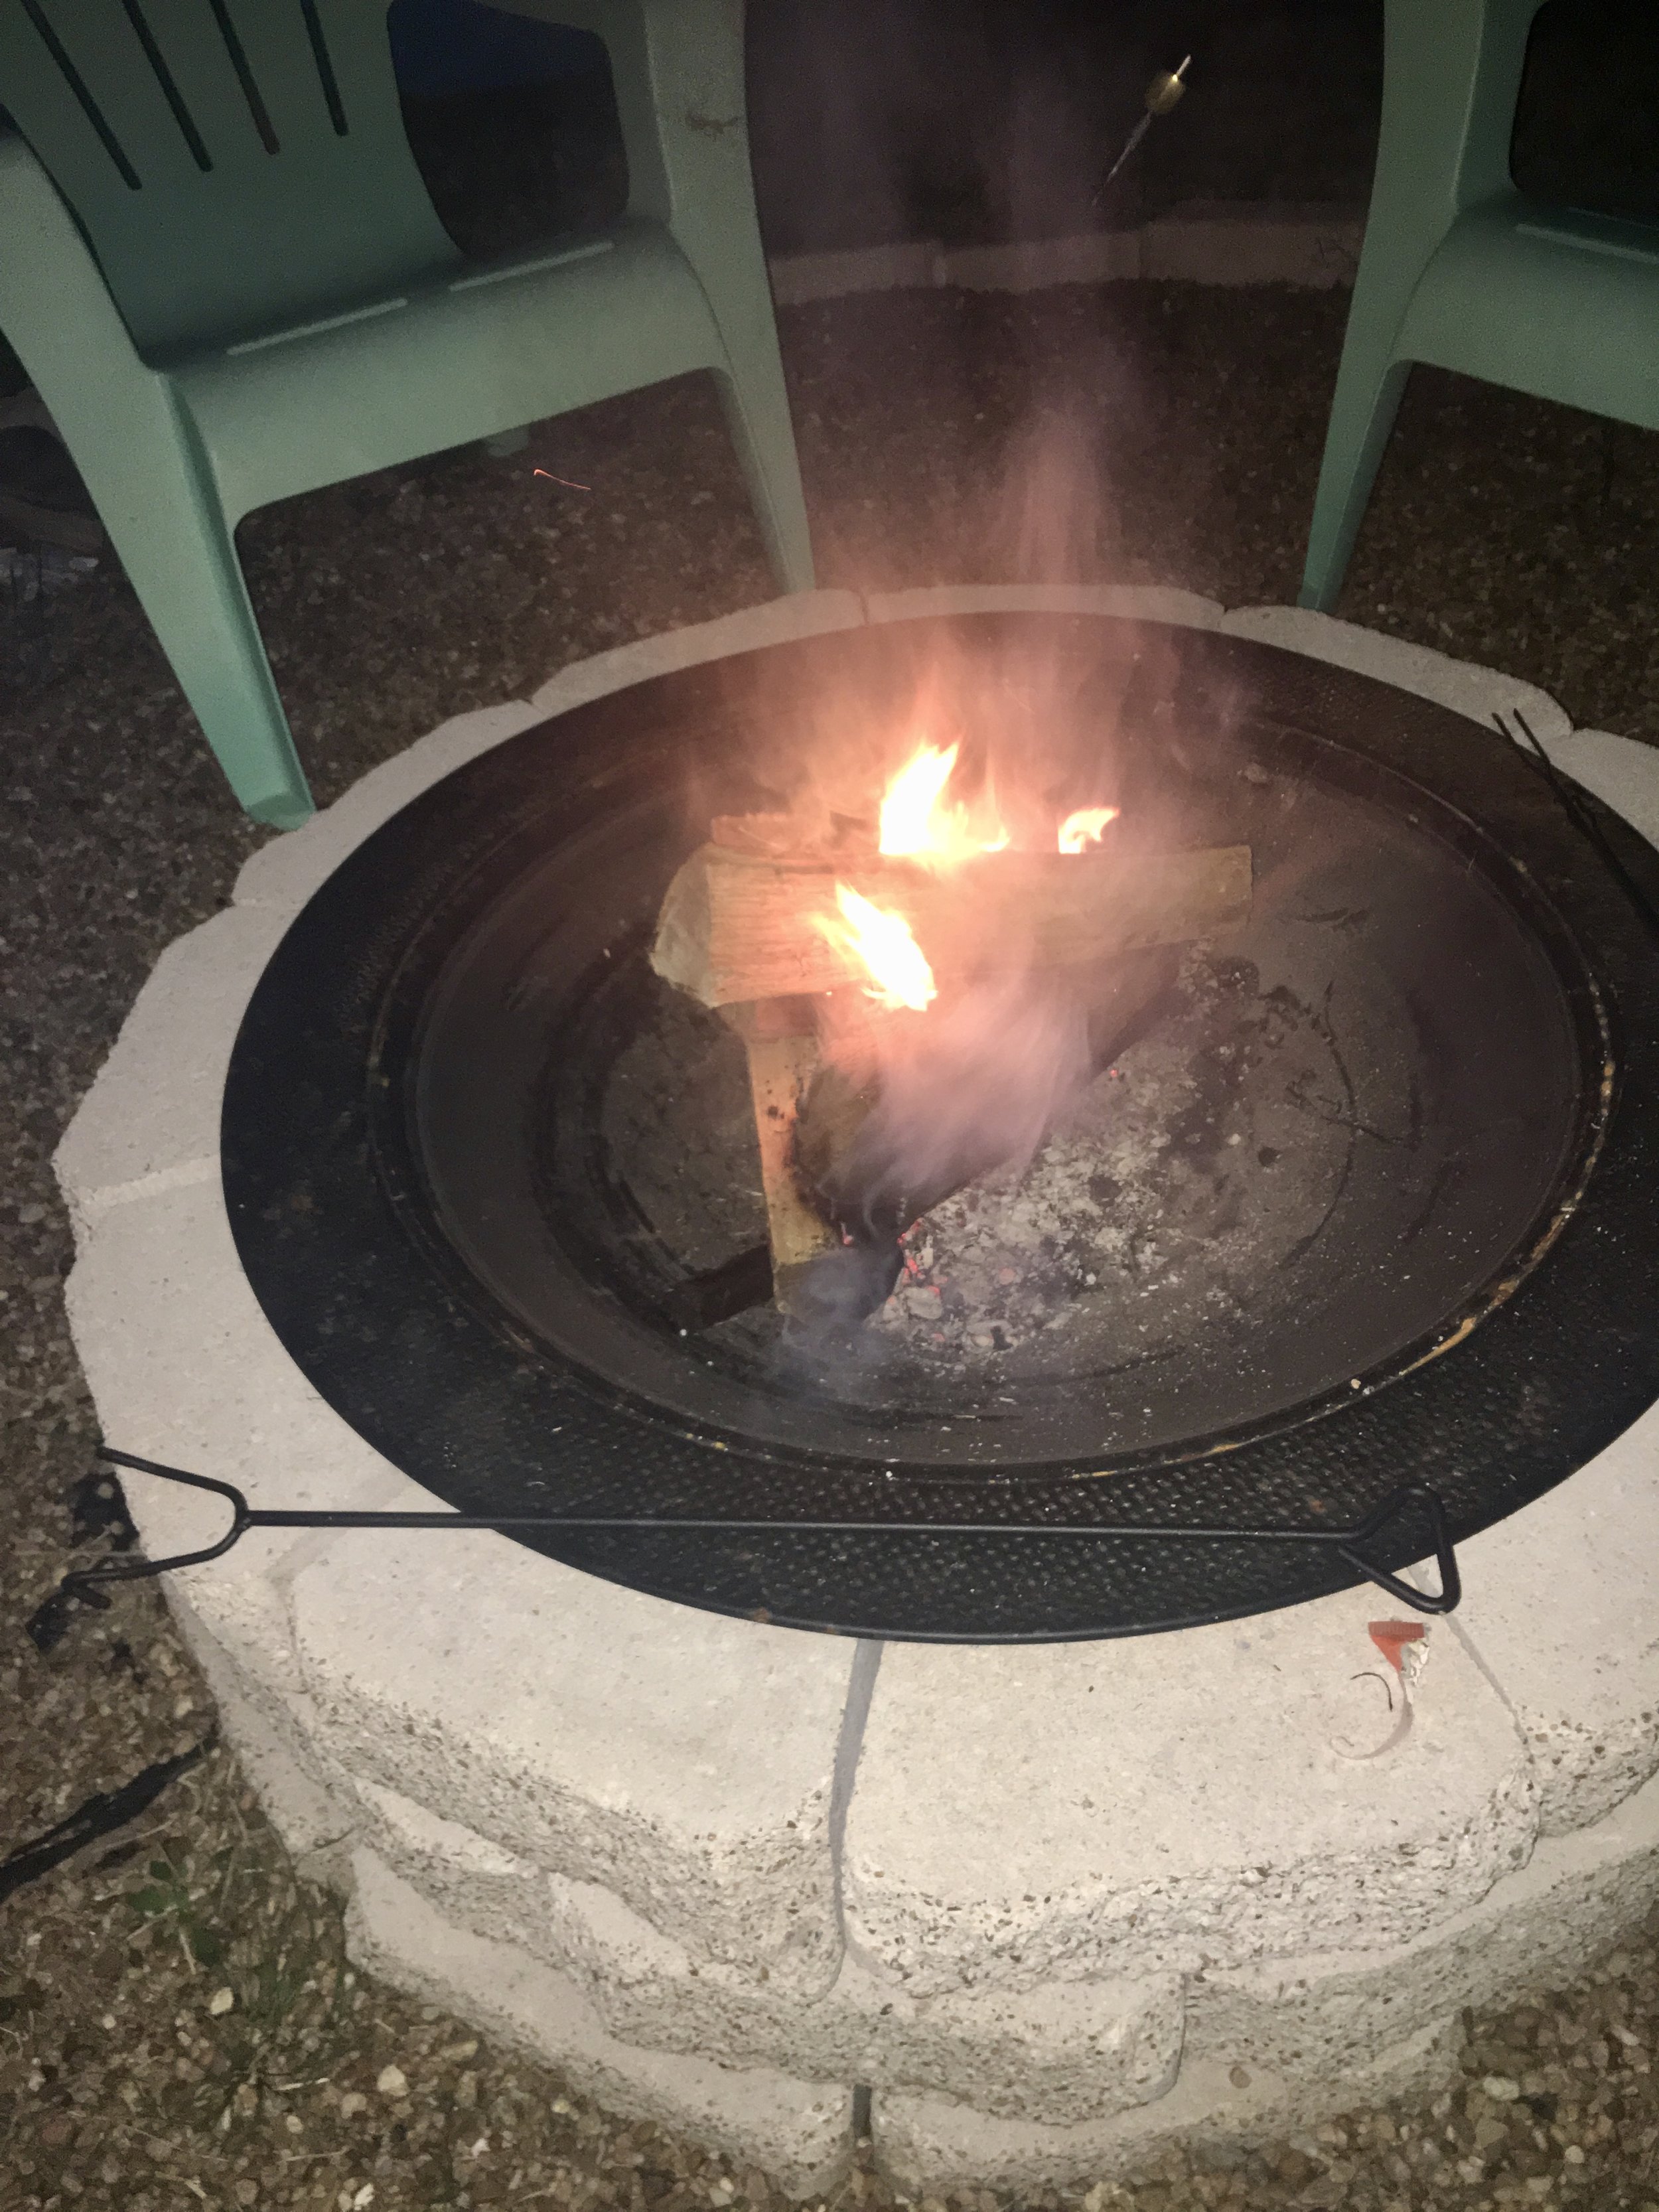
4. The bowl -
If you decide to add the bowl, the one we purchased comes with the leg options, but it was so affordable. All you have to do is not add the legs and set the bowl inside of the fire pit. Nothing further is required. It may see unstable, but the fire pit last through many storms and hurricane with no issues.

5. Enjoy -
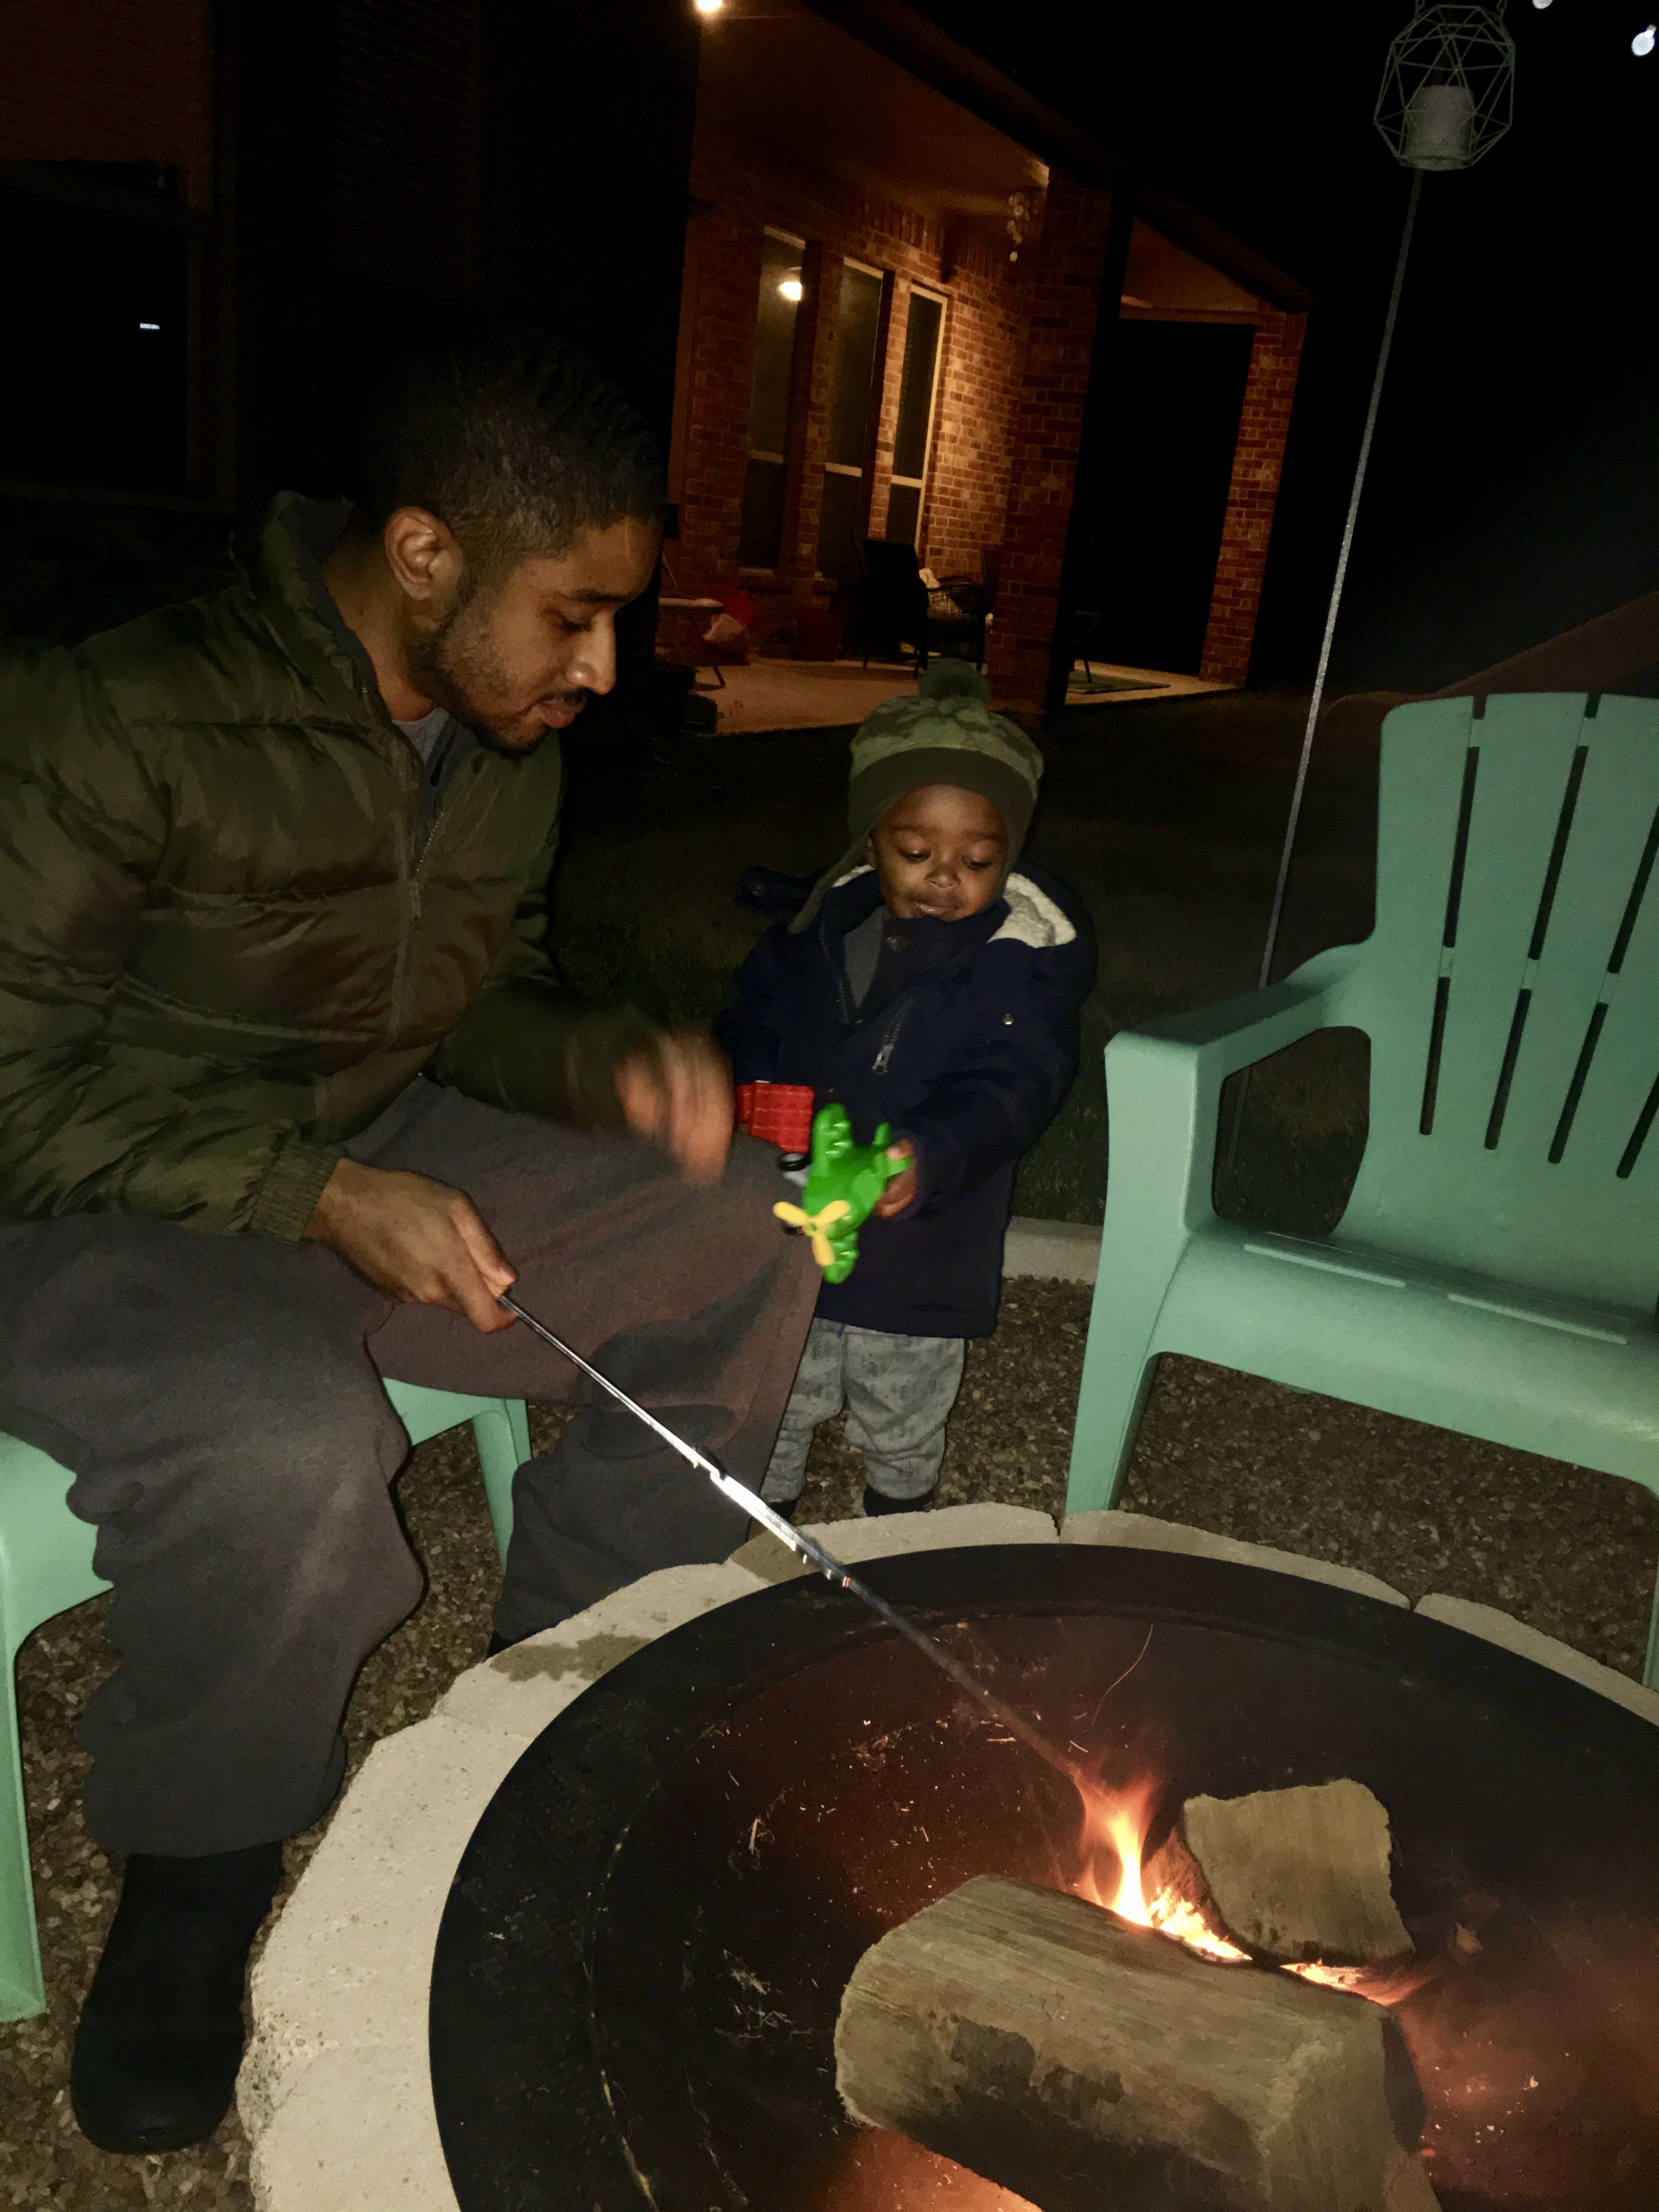
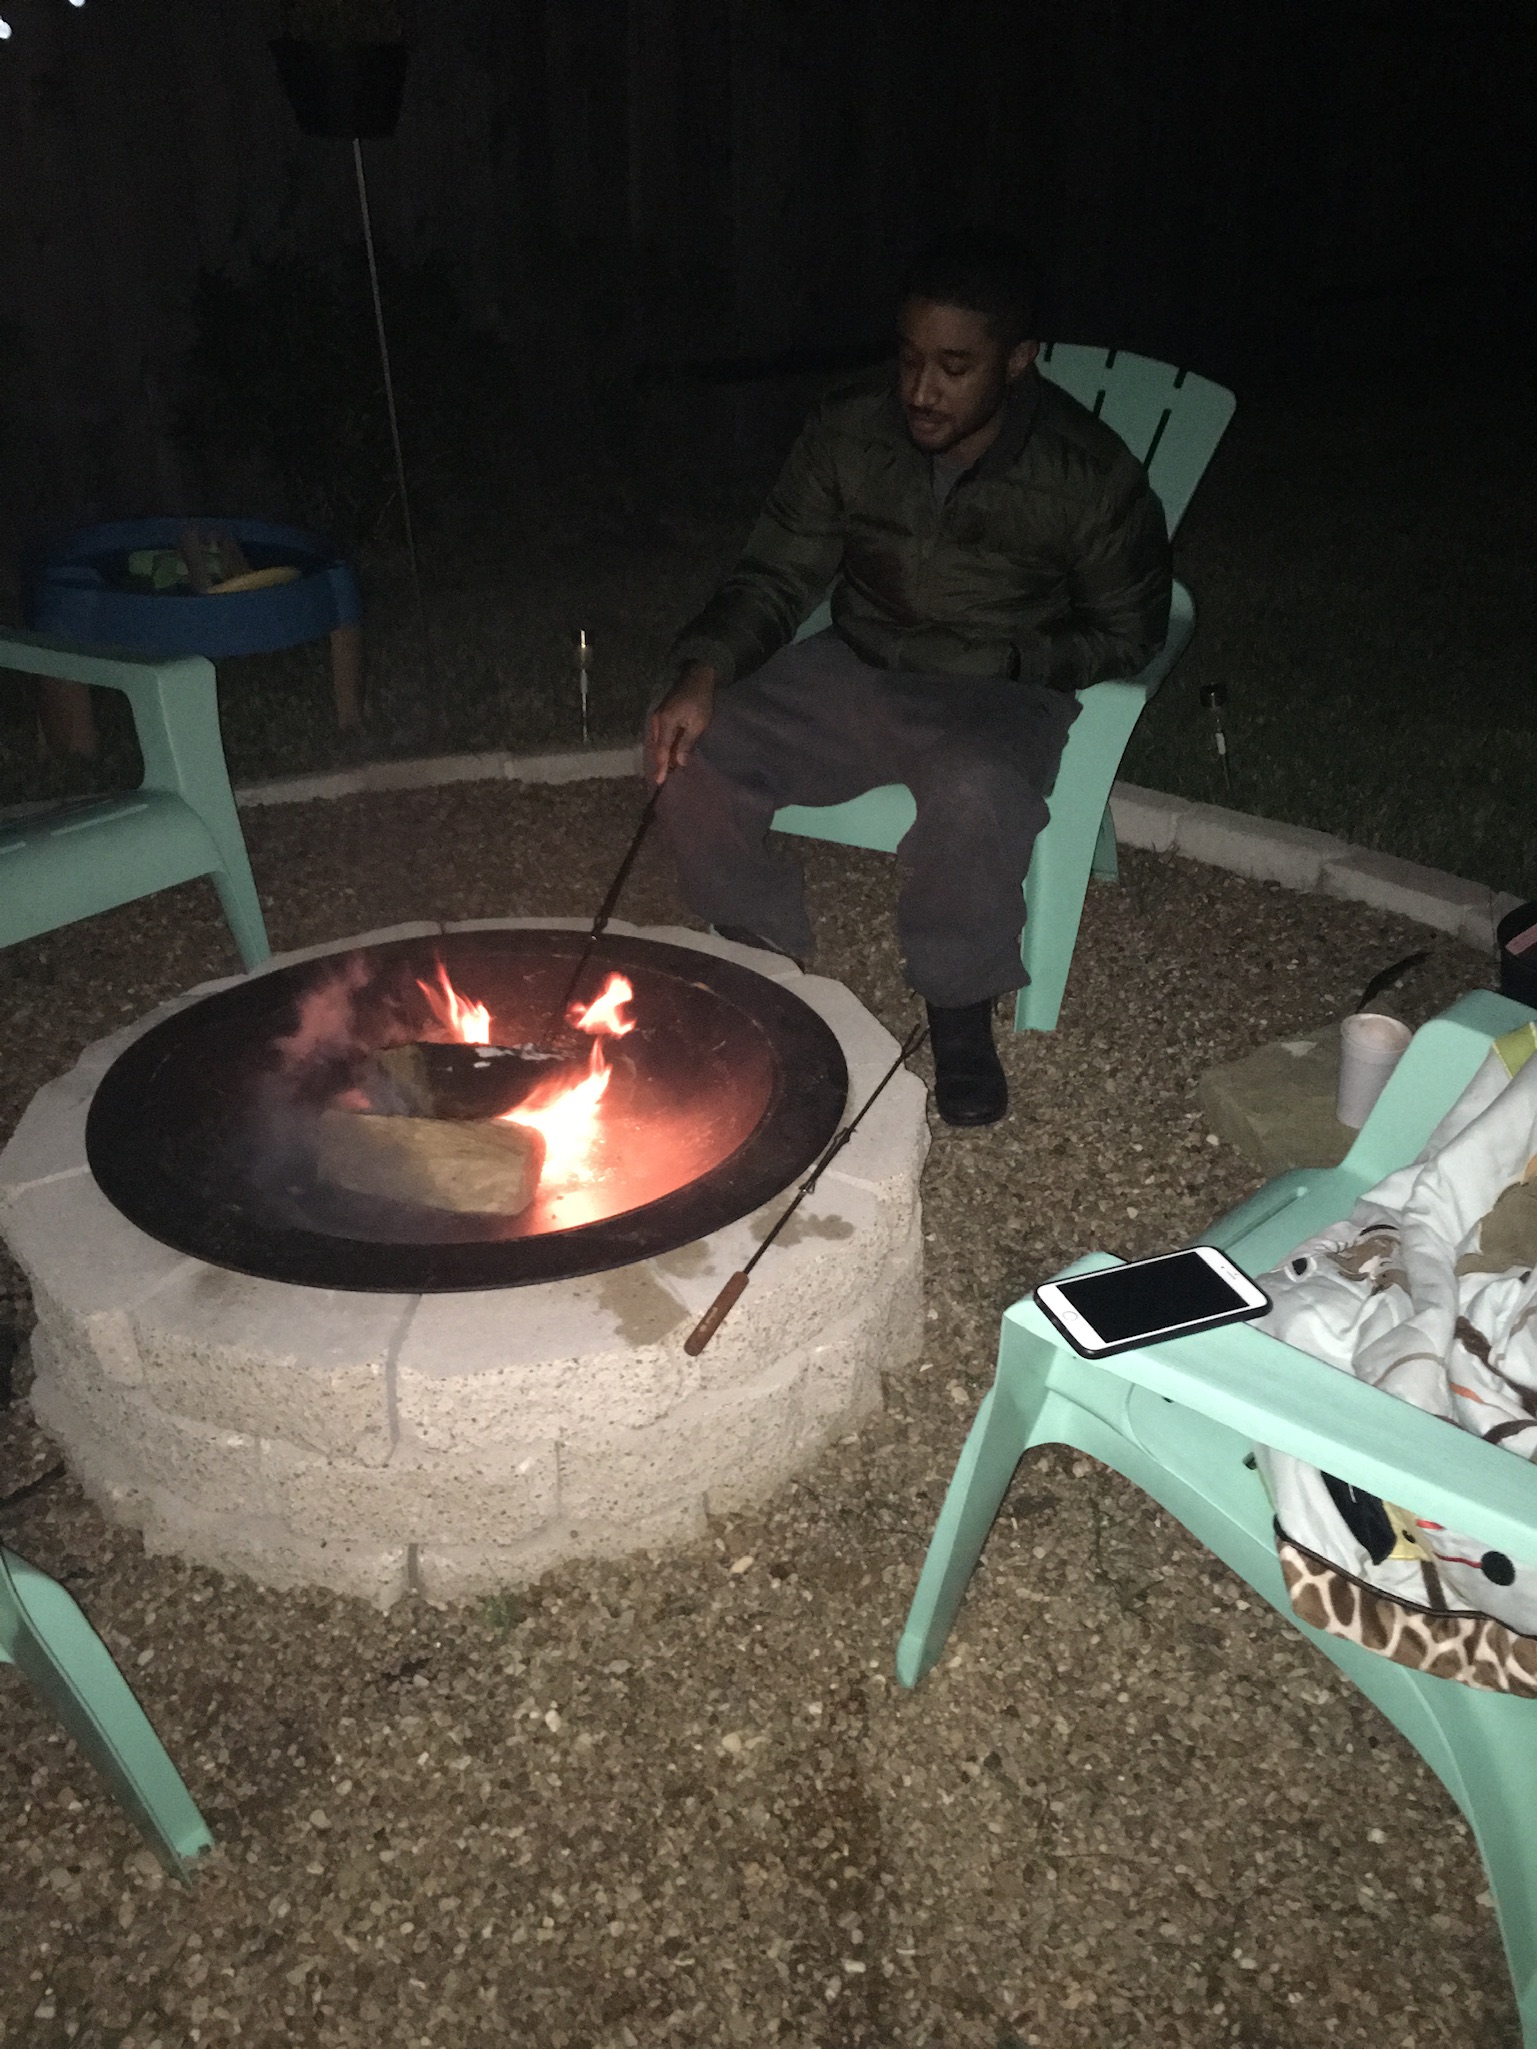
Lastly, get some wood and fire starter and create memories!!!
In our new house, we have a gas fire pit that we purchased. It is not as fun and it does not smell as good, but our yard is not as big as it was in the old house. We could have made a smaller diameter area, but since we upgraded our patio to include the gas line, we decided to go the route we have now.
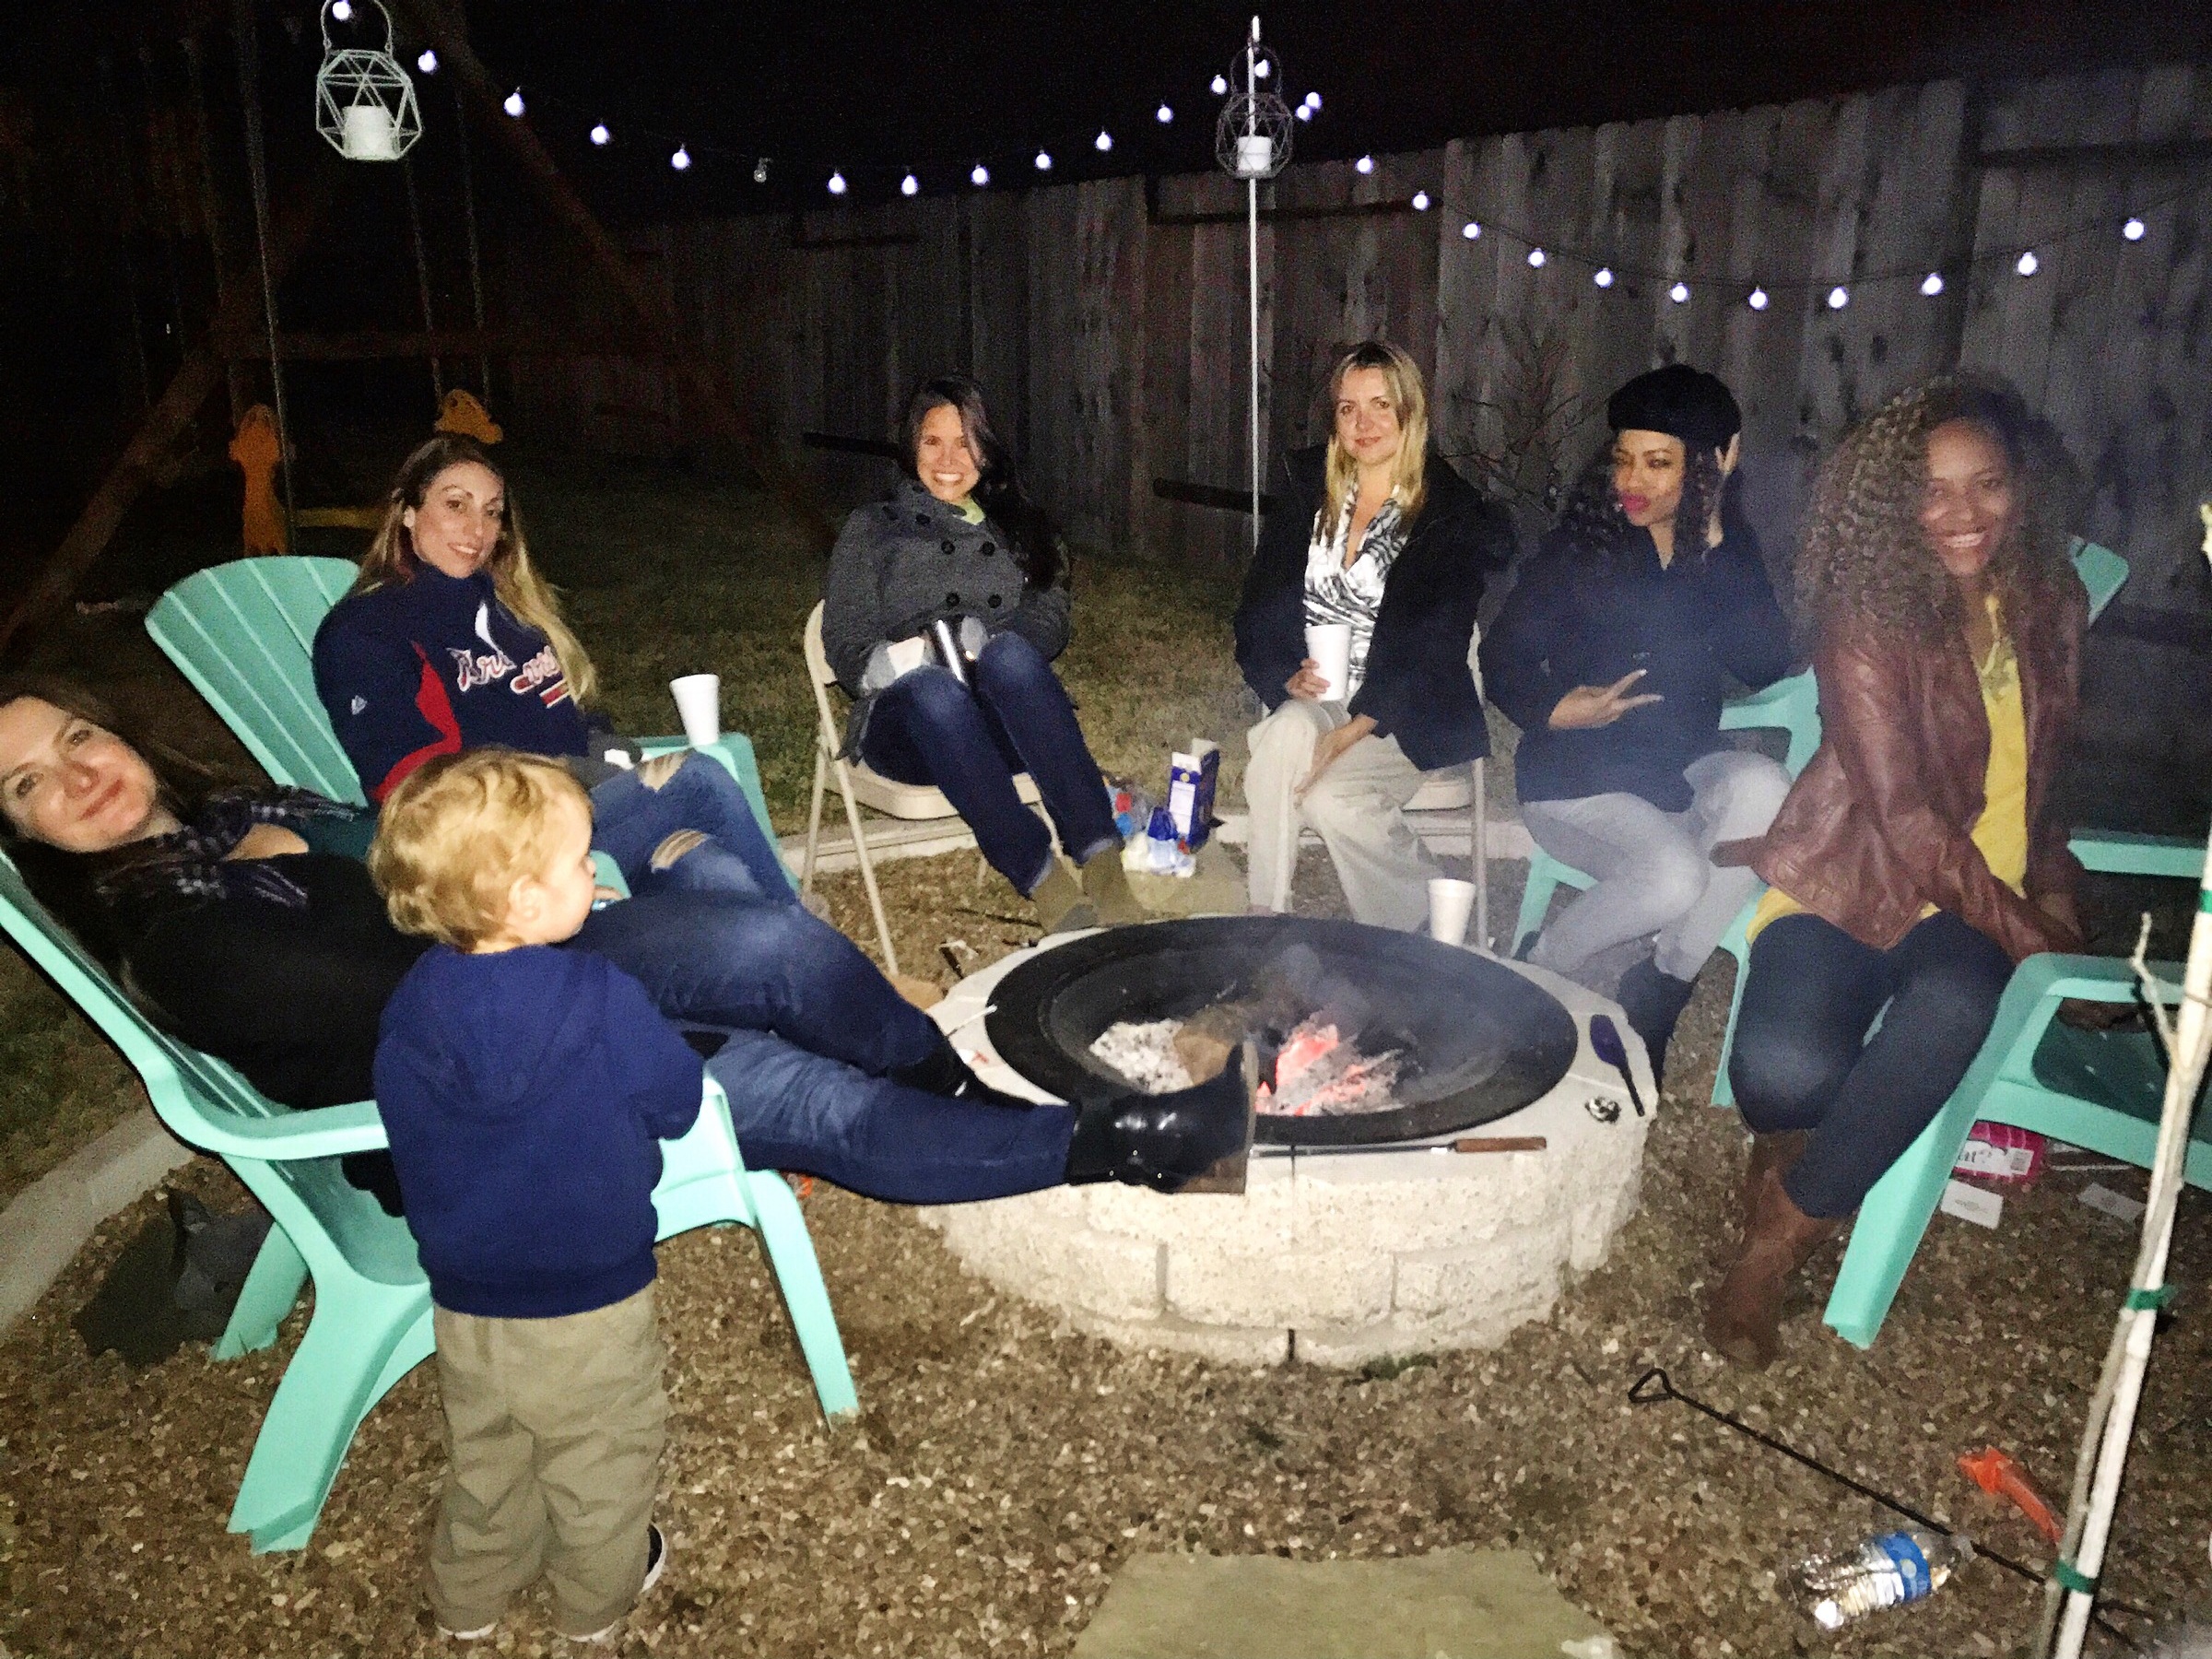
I won’t lie, it was hard manual work, but we saved more money than purchasing a fire pit kit and we got to design how I envisioned. You can customize it by choosing different concrete and stone selections or by adding decor like chairs, etc.
Oh and the chairs we added are here. I purchased the teal color as it’s my favorite color. All and all I just want to encourage you to create memories with your family/friends. This bonfire provided just that. Not only is it extra special because we got to hang around it, but we made it.
As always, thank you for reading!!!! I hope these steps make sense. If you have any questions, feel free to comment below, email me, or DM me on Instagram.
XOXO